
Overskill · Payments
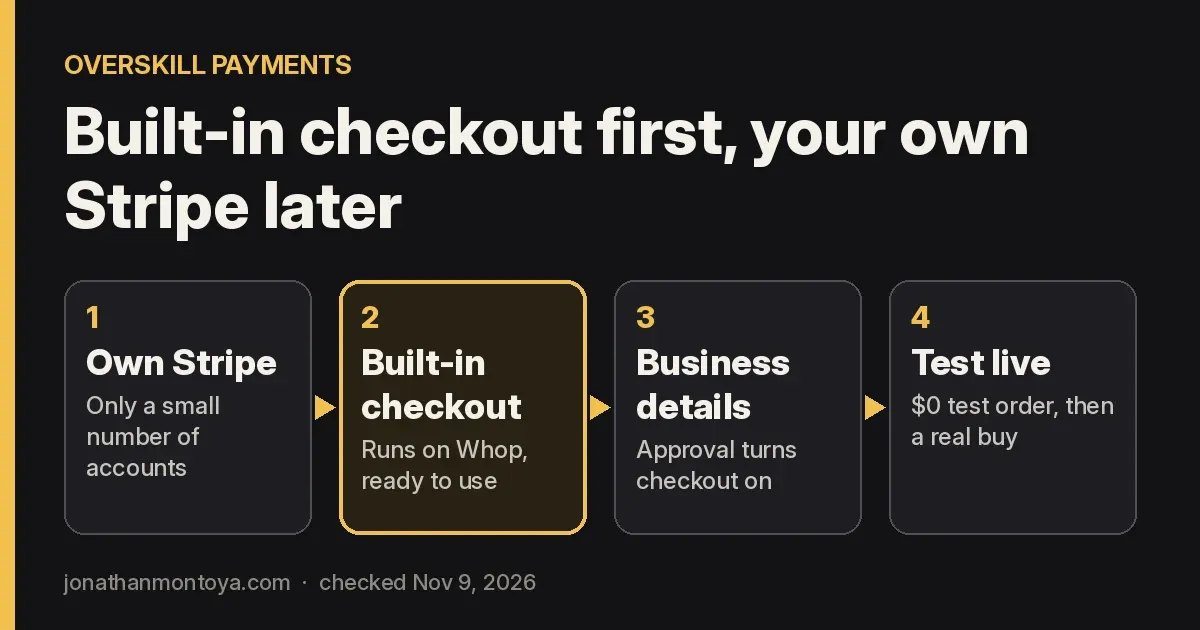
Overskill payments for most accounts mean the built-in checkout, not your own Stripe. Here is why, what it costs, and how to set it up so buyers actually get in.
You built an app in Overskill (I earn a commission if you buy through this link) and now you want to get paid. Your first thought might be, "I'll just connect my Stripe account." That is what most of us are used to.
Here is the honest answer, checked on November 9, 2026. Overskill's own help center says bringing your own Stripe account is not available to most people yet, and you should not plan a launch around it. The good news is that you do not need it. Overskill has a built-in checkout that works out of the box. This guide shows how each option works, what the fees are, and the exact steps to take your first payment.
Quick answer
Overskill's built-in checkout (Overskill Payments) is the default and runs on Whop. Using your own Stripe account is switched on for only a small number of accounts, with no setting to turn it on yourself. For almost everyone, the right move is the built-in checkout: tell the AI your price, finish your payment details, publish, run the $0 test order, and check your live link.
The two ways to take payments
Overskill's help article "Connecting Stripe for payments" describes two paths:
- Built-in checkout. It works out of the box. You do not need a Stripe account. It is what the AI builds by default.
- Your own Stripe account. A separate, limited path. Payments would go to your Stripe balance instead of through Overskill.
Then it says this, in bold: bringing your own Stripe account is "not yet available to everyone." It is switched on for a small number of accounts. It is "very likely not enabled" on yours. And there is no setting you can flip to turn it on.
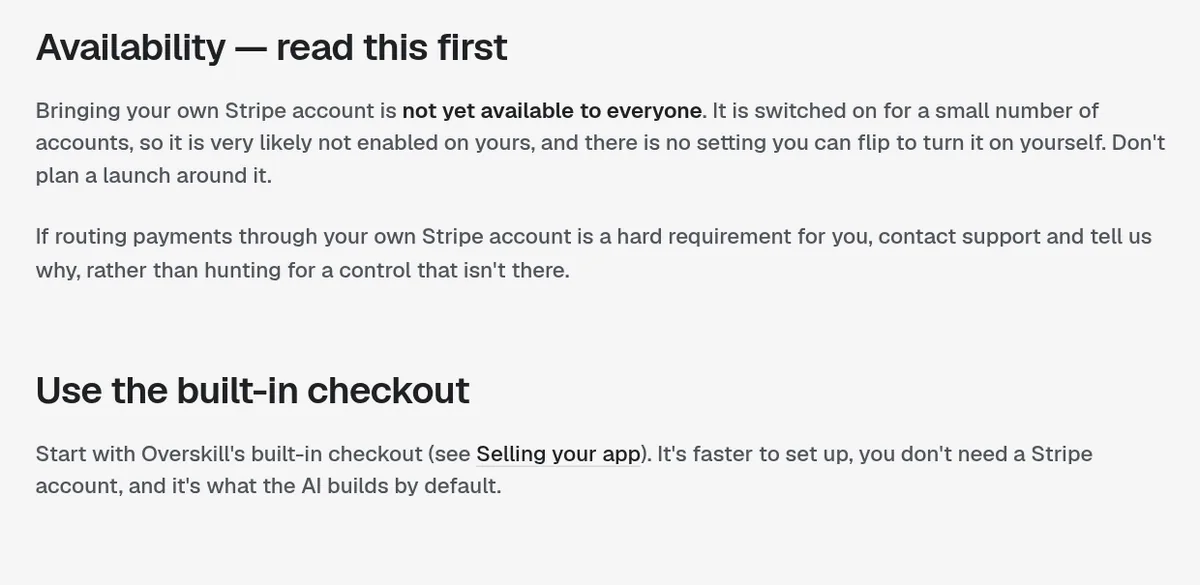
So if you have been hunting for a "Connect Stripe" button, stop. It is not hidden. It is just not there for most accounts. Overskill also says support cannot turn it on for one account by request. So plan on the built-in checkout.
Built-in checkout vs your own Stripe
Here is how the two compare, based on Overskill's help center:
| Built-in checkout | Your own Stripe | |
|---|---|---|
| Who can use it | Every app | A small number of accounts |
| Setup | Tell the AI your price in chat | No self-serve switch, and support cannot turn it on by request |
| Fees | Whop's published rates | Stripe's standard rates |
| What buyers see | Same checkout | Same checkout |
From Overskill's help articles "Connecting Stripe for payments," "Selling your app," and "Payment fees explained," checked November 9, 2026.
If your account already has its own Stripe connected, Overskill says to keep the setup that works. Overskill does not move active subscriptions or saved payment details between Stripe and the built-in checkout on its own. So switching does not bring your current subscribers with you.
What the fees look like
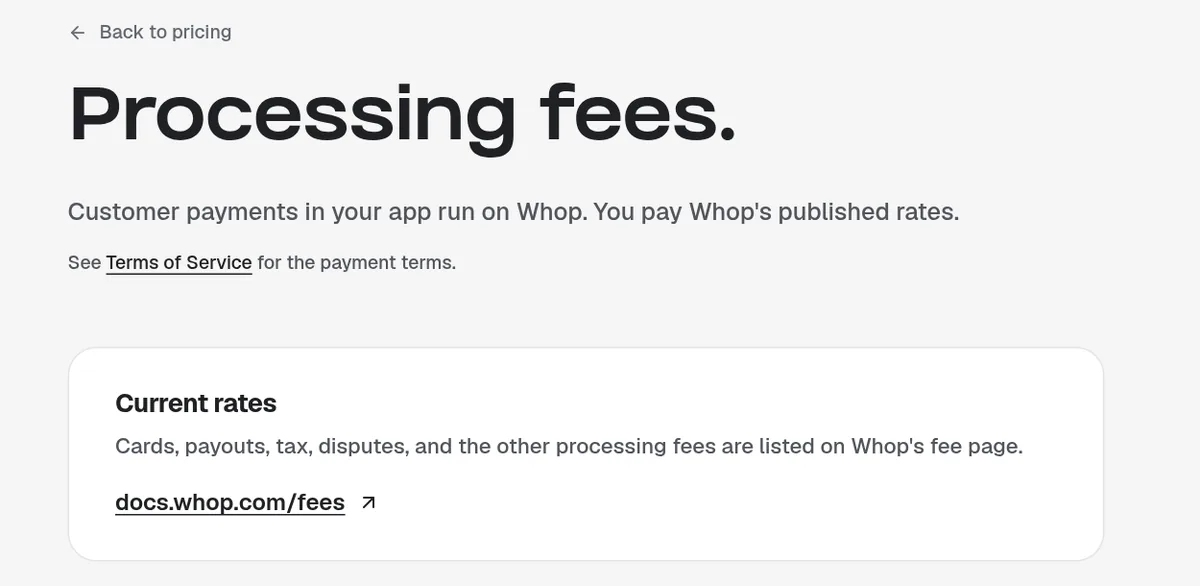
Overskill's pricing page says customer payments in your app "run on Whop. You pay Whop's published rates." Overskill points to Whop's fee page as the source of truth.
Here are the main card rates on each company's own page, checked November 9, 2026:
| Processor | Domestic card rate | Source |
|---|---|---|
| Whop (built-in checkout) | 2.7% + $0.30 per successful transaction, plus 1.5% for international cards and 1% if currency conversion applies | docs.whop.com/fees |
| Stripe (own account, if enabled) | 2.9% + 30¢ per successful transaction for domestic cards | stripe.com/pricing |
Rates change. Check both pages before you set your prices.
A few more rules from Overskill's payments page are worth knowing. Failed or declined transactions are not charged. If you refund a buyer, the original card processing fee is not refunded, which Overskill calls standard card-network practice. Whop also lists separate fees for some payout methods, so read that part of its fee page before you cash out.
How to take your first payment with the built-in checkout
Here is the order to follow. It comes straight from Overskill's payments help articles.
Step 1: Tell the AI what to charge
In the builder chat, say what you want. Overskill's example prompt is "Let me charge $20 a month for access to this app." The AI asks a few questions: the price, monthly or yearly or one-time, whether the whole app or just some features are paid, and what the signup page should say.
Step 2: Finish your business details
Overskill says that before your app can accept payments, you fill in your business details in the payment verification panel and pass an approval review. In Account, then Payments, click "Update business information." Fill in Business Type, Legal Name, and Business Name, then wait for the re-review. Do not just dismiss the banner. Overskill says that hides the reminder but does not approve you.
Step 3: Know about cash outs
Money you collect goes into your Overskill wallet. To withdraw to your bank, Overskill asks for a one-time identity check. You will need a government ID, a quick selfie, your business or personal info, and bank details. Overskill says most people are approved in under a minute.
Step 4: Publish, then test on your live link
This one catches almost everyone. Overskill says checkout does not run in the editor's preview window. It only works on your app's real address, like yourapp.overskill.app or your own domain. Publish first, then open your live link in a new tab.
Step 5: Run a $0 test order
In the editor, find Test checkout above Preview. Click Get test code, then Complete test order. Overskill says no card is collected, the order settles at $0, and it does not create a renewing subscription. Then open the paid part of your app to check that access works.
Know its limits. The test uses your own signed-in account and only the first plan you made. It does not prove a new buyer can pay with a real card. So also try a real purchase on your live link before you launch.
What your buyers will see
Overskill's help center says checkout takes the major credit and debit cards. Other methods, like wallets or local payment types, show up only when they fit that purchase. They can change with the buyer, country, currency and payment type. You do not pick them, and adding a logo to your page does not turn one on.
That is why Overskill says cards are the only method you can safely promise to everyone. Don't write "Pay with PayPal!" on your sales page, because not every buyer will see it.
One note for older apps. Overskill's help center says Whop turned off its older built-in checkout on October 21, 2026. New apps use the newer one, called Whop Elements. If an older app that sells something shows a yellow note above the chat, click Upgrade checkout, then test and publish. Not sure? Ask the AI, "Does this app use Whop Elements or the older Whop checkout?"
Selling access vs selling products
There is one case where your own processor does come up. Overskill's help center splits payments into two jobs:
- People pay to use your app. That is the built-in checkout, which Overskill calls Monetize or Overskill Payments.
- People use your app to buy something from you, like a cart with shipping, tax, or coupons. That kind of checkout usually runs through your own processor with keys saved in the editor's Env Vars tab, a Shopify storefront, or an external checkout link like Gumroad, Lemon Squeezy, or Paddle.
Overskill says to save keys in Env Vars and never paste them into chat. If your app is a store, read that help article before you build. If it is a tool or membership, the built-in checkout is the path.
My take
I started my online business in May 2019, and since then I have learned the processor is almost never the reason something sells or does not. The offer and the buyer are. So I would not wait on Stripe. Use the checkout that works today, get your first real buyers, and revisit it later if Overskill opens Stripe up more widely.
If you are still deciding what to build, start with my AI app ideas list. If you are new to the builder, my guide to building an app with Overskill walks through the basics.
Once checkout works, my guide on how to sell an AI app you built with Overskill covers finding buyers.
First payment checklist
Nothing you check here is sent or saved. Download it if you want to keep it.
Meet AIM Agent
AIM Agent is an AI Chief of Staff for business owners. You give it a real task, and it brings the work back for you to review. You stay the one who approves.
Meet AIM AgentI am a co-founder of AIM Agent and have a financial interest in the product.
Need Overskill first? Start with Overskill (I earn a commission if you buy through this link.)
Frequently asked questions
Can I connect my own Stripe account to Overskill?
For most people, not yet. Overskill's help center says bringing your own Stripe account is switched on for a small number of accounts, there is no setting to turn it on yourself, and you should not plan a launch around it.
What does Overskill use for payments?
Overskill's built-in checkout runs on Whop. You pay Whop's published rates, and money goes to your Overskill wallet, which you can cash out to your bank after a one-time identity check.
What are the fees for Overskill payments?
Overskill says you pay Whop's published rates. On November 9, 2026, Whop's fee page listed 2.7% + $0.30 per successful domestic card transaction, plus extra for international cards and currency conversion.
Why does my Overskill checkout fail in the preview?
Overskill says checkout only works on your live app link, not the editor preview window. Publish, open your live link in a new tab, and test there.
How do I test my Overskill checkout for free?
In the editor, use Test checkout above Preview: Get test code, then Complete test order. Overskill says no card is collected and it settles at $0. It only tests your own account and your first plan.
Does Overskill take a fee if I use my own Stripe?
If your account has its own Stripe switched on, Stripe charges its standard rates. Overskill's current help articles do not list an extra platform fee, so check your billing before you count on that.
Want an AI team to help you launch and sell?
Disclosure: I am a co-founder of AIM Agent and have a financial interest in the product.
AIM Agent is an AI Chief of Staff for business owners. It comes with an AI C-suite (COO, CMO, CFO, CRO and CTO), a Business Bot Builder and 100+ business skills, and it runs on AIM OS, a private vault that holds your notes and memory.
Here is what you get:
- An AI Chief of Staff that helps you plan and run your business
- An AI C-suite: COO, CMO, CFO, CRO and CTO
- A Business Bot for each business or project. Give it a real task and it brings the work back for you to review
- 100+ business skills for content, offers, research and more
- Step by step setup guides and email support
Sources
Checked November 9, 2026. Plans, prices, and rules can change. Links to overskill.com carry my referral code. I earn a commission if you buy through those links.
- Overskill help: Connecting Stripe for payments
- Overskill help: Selling your app
- Overskill help: Payment fees explained
- Overskill Payments processing fees
- Overskill help: Why your app cannot take payments even though you are verified
- Overskill help: Identity verification
- Overskill help: Checkout only works on your live app link
- Overskill help: Test your checkout without paying
- Overskill help: Which payment methods will my buyers see?
- Overskill help: Whop is retiring its older checkout on October 21
- Overskill help: Selling access vs selling products
- Whop fees
- Stripe pricing
